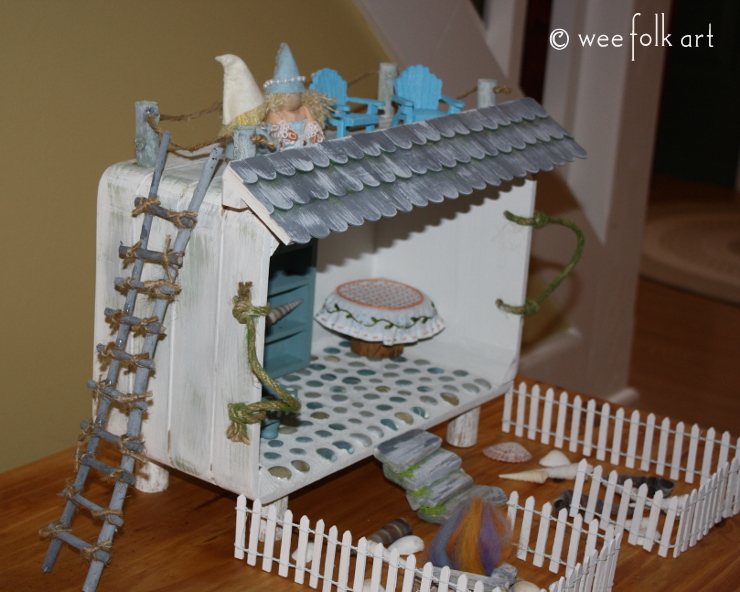
Here a few wee projects to help turn the seaside house into a home. Find out how to make a larder shelf, bed, bookcase and shelf for your gnomes.
Now that you are done making the Seaside Gnome Home you are going to want to help your gnomes decorate! Begin with these simple projects. Add a shelf to the house to create a larder, perfect for storing food and other supplies. Convert a small wooden chest into a bed and a bookcase. Finally, make a small shelf to keep books and candles in easy reach. Of course, you don’t need a seaside gnome home to use these. They would be great for any of your gnomes, fairies and for doll houses.
You can find the directions for making your own Seaside Gnome House HERE
Materials Needed
- small wooden chest (ours measured 4 1/2″ x 3″ x 1 3/4″ that we bought at a local craft shop.
- acrylic, soy or other non-toxic water based paints
- craft glue
- 3/16″ basswood (found in craft and hobby shops) We save the left overs from our Seaside Gnome Home and used them here. Our original piece was 4″ deep by 36″ wide
- 3/4″ mini wooden candle holders or other small pieces of wood for legs of bed
Seaside Gnome Home Larder Shelf
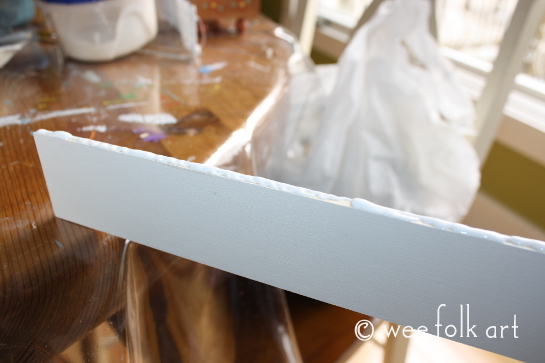
Measure the inside of your opening of your Seaside Gnome Home. Cut your piece of of 3/16″ basswood that size. You want the board to fit tightly without bowing. Be careful not to cut it too short. You need it to touch the 2 side walls of the house along with the back. After you have cut the width, cut the shelf so it will be 2″ deep.
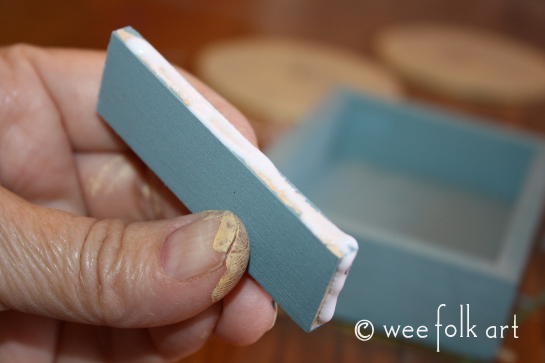
Paint the front, top and bottom of the shelf. Do not paint the 2 side edges or the back. The glue will adhere better without paint.
Decide where you want your shelf placed and make a light pencil mark on both side walls to use as a guide. We placed our shelf 1 1/2″ below the ceiling. Put glue on the unpainted side edges and back.
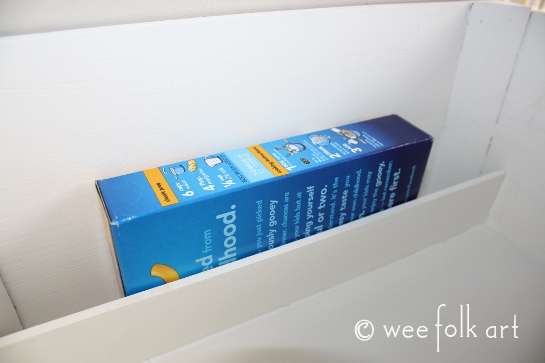
Position the shelf in the house. Your larder shelf should be parallel to the ceiling. We put a box of mac and cheese, which was 1 1/2″ wide, between the ceiling and the shelf to make sure it dried straight.
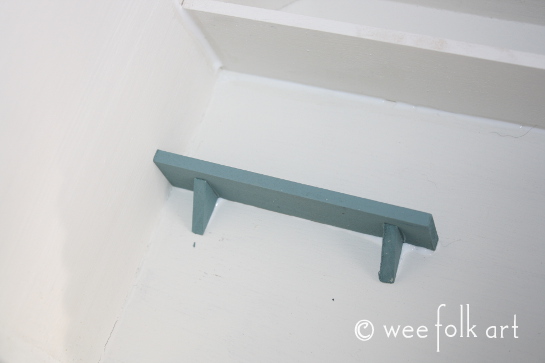
Seaside Gnome Home Shelf
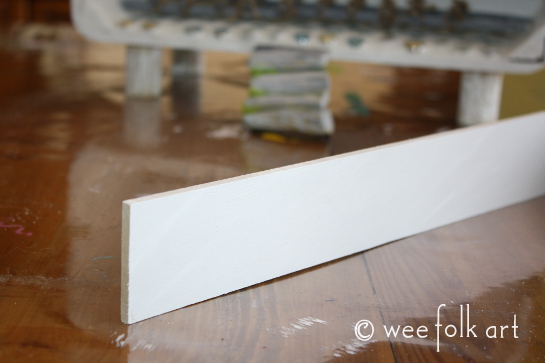
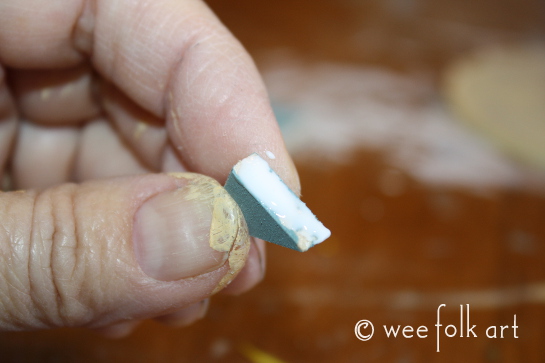
Again, using left over 3/16″ basswood from the Seaside Gnome Home, cut a shelf 4 1/4″ x 1″. Cut 2 small right angle triangles that will be used for support. Paint the shelf and supports. Do not paint the edges that will be glued to the wall.
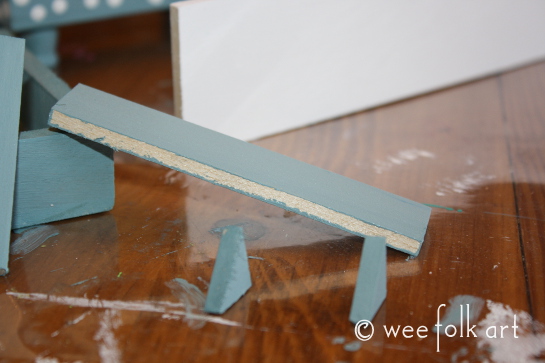
Glue the 2 supports to the shelf. Place them 3/4″ from either side. Lay the shelf on a protected surface and make sure the back of the supports and the back edge of the shelf are touching the surface. You want this to be even so the supports and shelf will touch the wall will you attach it to the house.
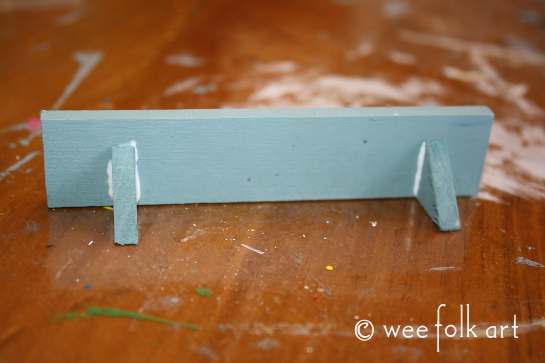
Decide where you want the shelf positioned. We wanted ours right over the bed so books could be stored for easy reading. Place glue on the back edge of the shelf and supports and glue to the wall. The shelf should be parallel to the larder shelf and ceiling.
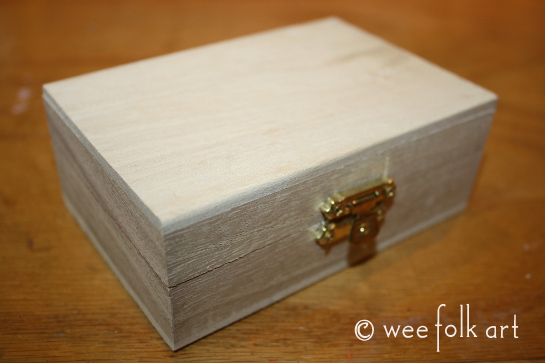
Seaside Gnome Home Bed
Purchase a small wooden chest. Ours measured 4 1/2″ x 3″ x 1 3/4″ that we bought at a local craft shop.
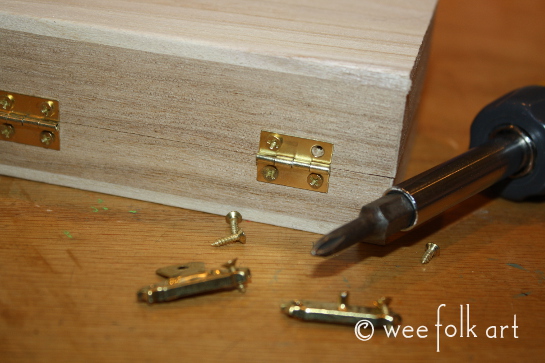
Remove the hardware from the chest.
Paint the inside and outside of the top and bottom of the chest. Also paint the 4 legs.
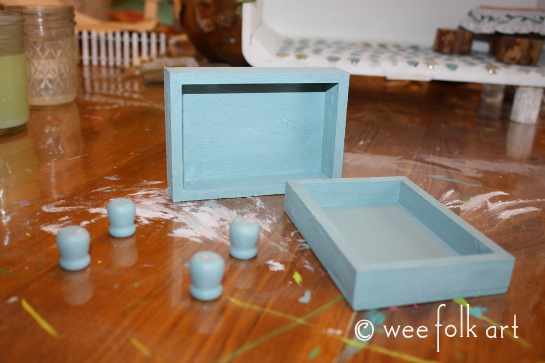
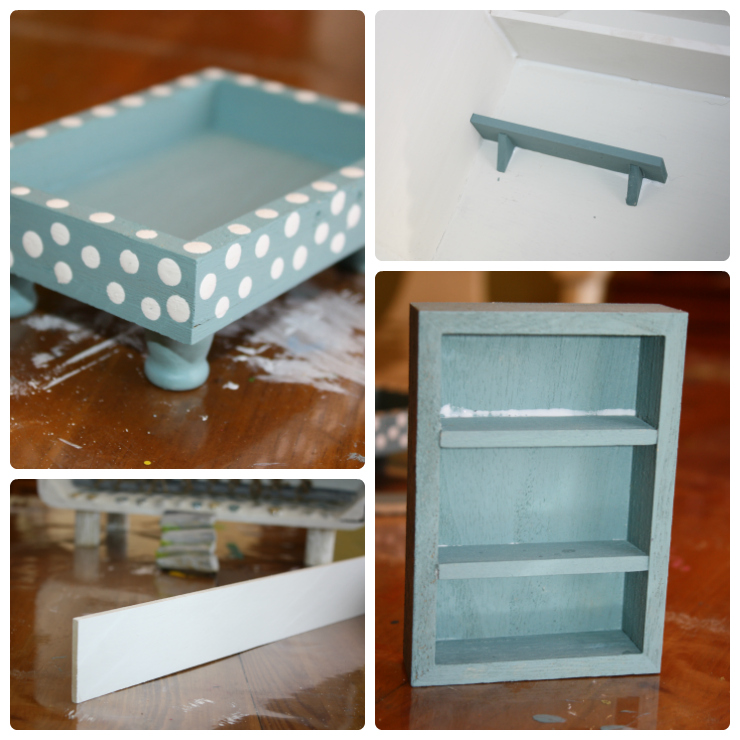
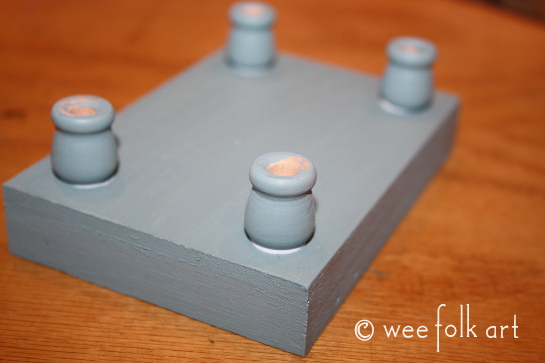
We used the top of the chest for the bed. It was the smaller of the two pieces. Put the other piece aside for the bookshelf. On the underside of the bed, make 4 marks in the corners where you want to position the feet. We placed ours 1″ from either side.
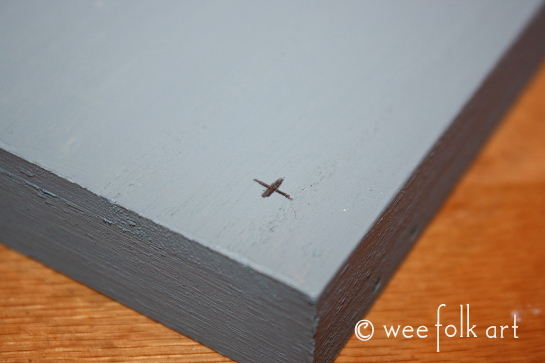
Glue the feet to the bed.
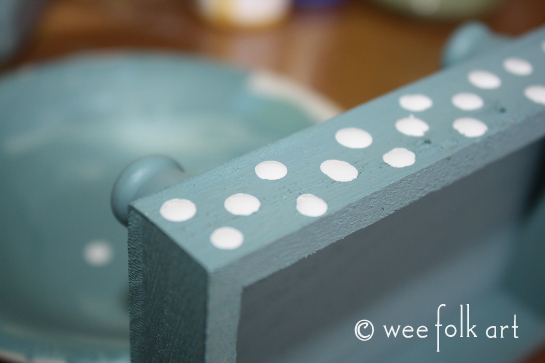
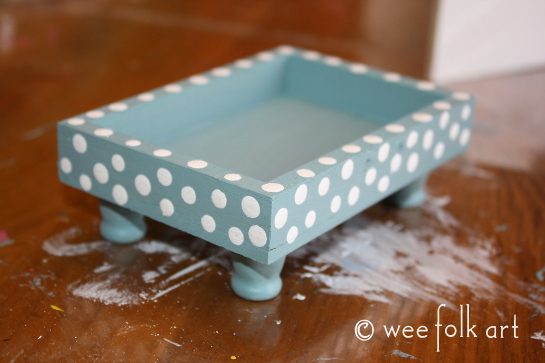
Using the back of a paintbrush, add dots to the sides and top edge of the bed.
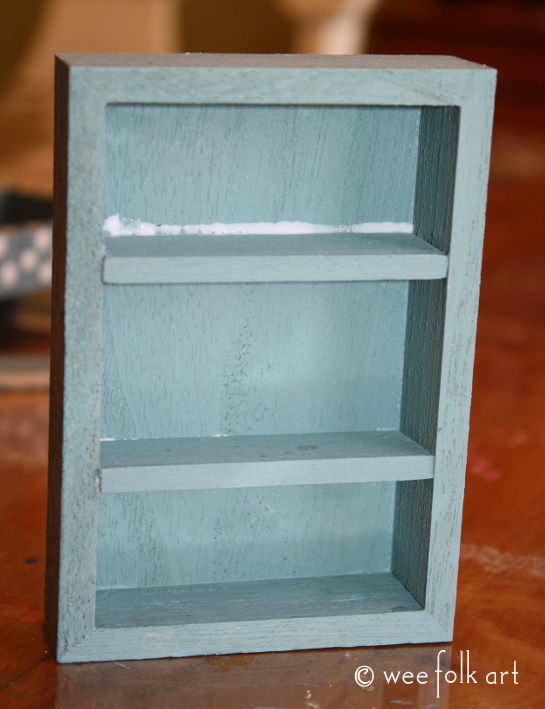
Seaside Gnome Home Bookcase
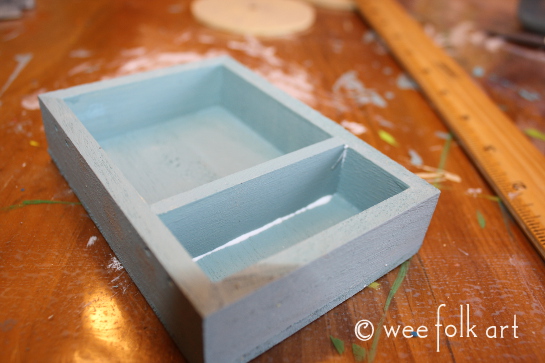
To make the bookcase, use the larger piece of the chest. Again, using left over 3/16″ basswood from the Seaside Gnome Home, cut a 2 shelves the inside measurement of your bookcase. The width of the shelves should be the depth of the box. Our shelves were 2 5/8″ x 3/4″.
Decide where you want the shelves placed and make light pencil markers to add in placement. We made our shelves evenly spaced.
Paint the shelves. When dry add glue to the 2 sides and back of the shelves.
Position in the bookcase.
The post Seaside Gnome Bed, Shelf, Bookcase and Larder appeared first on Wee Folk Art.